|
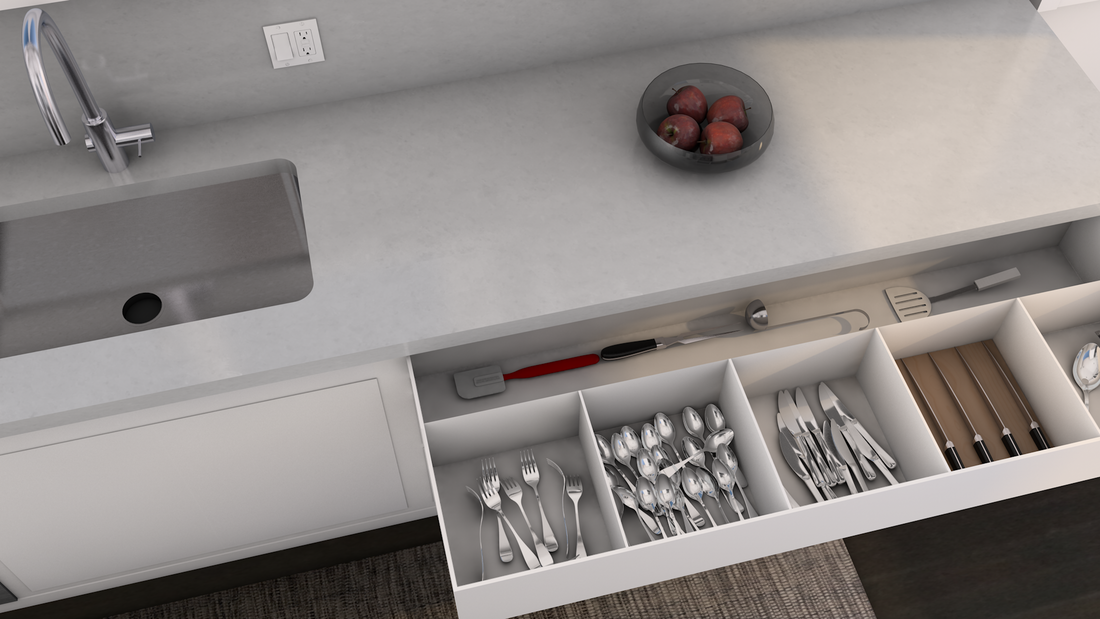
Yup, them there's some mighty big drawers. Companies like Bauformat use high pressure laminates and melamine in conjunction with Blum hinges to lessen cabinet door weight. This lets designers go all Pacific Rim with the size. I added apples and morning light to make the shot look less monochromatic. Why apples and not a big pizza and a bag of chips is anyone's guess.
0 Comments
A wider angle of the kitchen remodel. As ideas change, the model changes to reflect those ideas. This render uses Cinema 4D's physical sky to add a little morning color. I used Cinema's built-in physical renderer, along with global illumination and ambient occlusion.
I also used the color mapping feature, which can be found under render settings, in the effects tab. Within color mapping's basic properties is HSV model. If you check this box, the HSV model's colors will be converted and only the brightness will be affected. This keeps colors from changing during the render. As the Help feature explains, a "dark blue will not be turned into a purple." It's cold in Los Angeles.
Anyhow, this kitchen set is a little challenging in that there is a lot of white material on the cabinets and walls in a very tight space. I'm still in the process of getting everything right, but there's a balancing act between using too little light, which causes the white materials to gray, or using too much light, which blows out the whites. There are a bunch of different techniques you can use to get around these challenges, including increasing the specular width on white materials and turning on photometric lighting. You can also place a plane in front of all the windows on the set and add a material with only "transparency" checked. Within this material, go to "illumination" and check "GI Portal." Once this plane, or planes, are fitted to the windows, it will keep light coming from outside the set from getting too hot and blowing things out. Although sometimes I like blowing things out. When I rendered this kitchen, I preferred to keep the ceiling and all of the walls in place (as opposed to removing one or two and letting the light come through). The reason why I like to keep everything in place in this particular set is the stainless steel and other reflective materials on the oven, refrigerator and pots and pans, which reflect the environment around the objects. So what to do? I could have used a wide angle lens on the camera to compose the shot, but that distorts the objects, which I didn't want. I ended up applying a composition tag on whatever wall (or side of the set) I wanted to remove, with "seen by camera" unchecked. By placing all of the objects on a particular set wall in a null, adding a composition tag (with "seen by camera" unchecked) to the null, and right clicking the composition tag, a window appears. Within the widow click "copy tag to children." This prevents the Cinema 4D renderer from rendering the wall and its children, but includes all the good stuff, like reflections. Google "Cinema 4D" and "architecture" for YouTube tutorials and more info. I did. |
Robert BorowskiMostly, he writes for a living. Archives
March 2023
|
Copyright © 2015 - 2024 The Brandywine Company. All Rights Reserved.


 RSS Feed